Minutes, even seconds, determine the results in the interval between a traumatic injury and the arrival of professional medical assistance. The most common cause of preventable death in trauma cases is uncontrolled hemorrhage. A person may die of a serious arterial injury in as little as three minutes. This is a harsh, uncompromising fact. However, it is a fact that can be changed with the help of one, important skill: wound packing. It is not a process that is done by surgeons in sterile operating rooms. It is a life-saving method that is basic, applicable to more than just traumatic injuries—it's a technique also used for some surgical wounds—and can be carried out by anyone with the appropriate knowledge and the appropriate equipment. This guide will present such knowledge. We will break down the process and demystify the decision-making process. Before proceeding, please review our terms of use, as the use of this information is for educational purposes and is not a substitute for professional medical training.
Why This Skill is a Critical Lifesaving Technique
The statistics of the civilian and military medical circles are absolutely clear. The World Health Organization estimates that almost 5 million deaths annually around the world are caused by injuries. A large proportion of these deaths are due to uncontrolled blood loss. The Stop the Bleed campaign, launched by the American College of Surgeons, brings up an important fact: the survival of a person is often in the hands of the person standing next to him.
Think of the following situations: a hiking trail that is remote, and a fall causes a deep laceration due to a sharp rock; a workshop accident, which causes a serious puncture wound because of a power tool; a multi-car pile-up on the highway. In both of these cases, it may take a long time to get definitive medical care. Paramedics have to work through traffic, terrain or other dangers. In this delay, the natural clotting processes of the body are frequently overloaded by the pressure of acute arterial or venous hemorrhage.
It is here that the intervention of a trained bystander is the most crucial factor in the chain of survival. Wound packing is a direct solution to exsanguination by providing direct and firm pressure to the source of the bleeding within the wound channel. In contrast to surface pressure, which can only slow the bleeding of a deep wound, correct packing provides the mechanical force needed to tamponade a ruptured vessel. It provides a condition in which clots may develop and retain, and essentially purchase the most precious commodity in an emergency: time. Learning this art will turn a mere spectator into an instant action taker, a decisive connection that can save a death that can be avoided.
Identifying Wounds That Absolutely Require Packing
Knowing how to pack a wound is only half the equation; knowing when is equally crucial for a safe and effective outcome. Wound packing is a specific tool for a specific job. Applying it incorrectly or to the wrong type of injury can be ineffective at best and harmful at worst.Use this table as a clear guide for your decision.
| PACK THESE WOUNDS |
DO NOT PACK THESE WOUNDS |
| Deep, severe bleeding where a tourniquet cannot be used. |
Any wound in the chest or abdominal cavity. |
| Junctional Areas: Groin, armpits (axilla), and neck. |
Shallow wounds that can be controlled with direct pressure. |
| Deep puncture wounds or lacerations on limbs with heavy bleeding. |
Wounds with a protruding (impaled) object. |
| Gunshot wounds located in junctional areas or on limbs. |
Head injuries with exposed brain matter. |
The primary indication for wound packing is severe, deep bleeding in a junctional area of the body where a tourniquet cannot be applied. These areas include:
-
The Groin and Pelvis: Where the legs meet the torso.
-
The Axilla (Armpit): Where the arms meet the torso.
-
The Neck: A complex area requiring careful and specific application.
-
Deep Punctures or Lacerations on the Limbs: In some cases, a deep wound on a limb that continues to bleed heavily despite tourniquet application may require packing in conjunction with the tourniquet.
The similarity is that they are deep wounds that feed on great blood vessels that cannot be isolated using a circumferential tourniquet. This includes not only traumatic injuries but also certain clinical situations like packing deep abscesses or sinuses after they have been drained by a professional. Some open surgical wounds are even left to heal by secondary intention, which can involve similar packing techniques.
It is important to differentiate this emergency procedure from the chronic wound care managed by a health care provider, such as the treatment for diabetic foot ulcers, which requires specialized techniques and materials under clinical supervision.
On the other hand, wound packing has absolute contraindications. Do not pack a wound in the chest or abdomen. A chest seal should be used to manage airflow by puncturing wounds to these cavities rather than stuffing them with gauze. The insertion of material in these body cavities may result in serious internal injuries and disrupt the operation of the essential organs. Moreover, do not make an effort to stuff a wound with a sticking out object. Keep the object in position and press around it. Trying to take it out may result in fatal hemorrhage.
Decision-making process is a quick evaluation: Is the bleeding severe and life-threatening? Is the wound deep? Is it in a place where a tourniquet is not possible? When the answer to the three is yes, then the indicated and necessary intervention is wound packing.
Essential Gear for Effective Wound Packing
You have no time to question your equipment in a high-stress trauma situation. The quality and accessibility of your tools directly relate to the efficacy of your intervention. An effective wound packing process is based on several main elements:
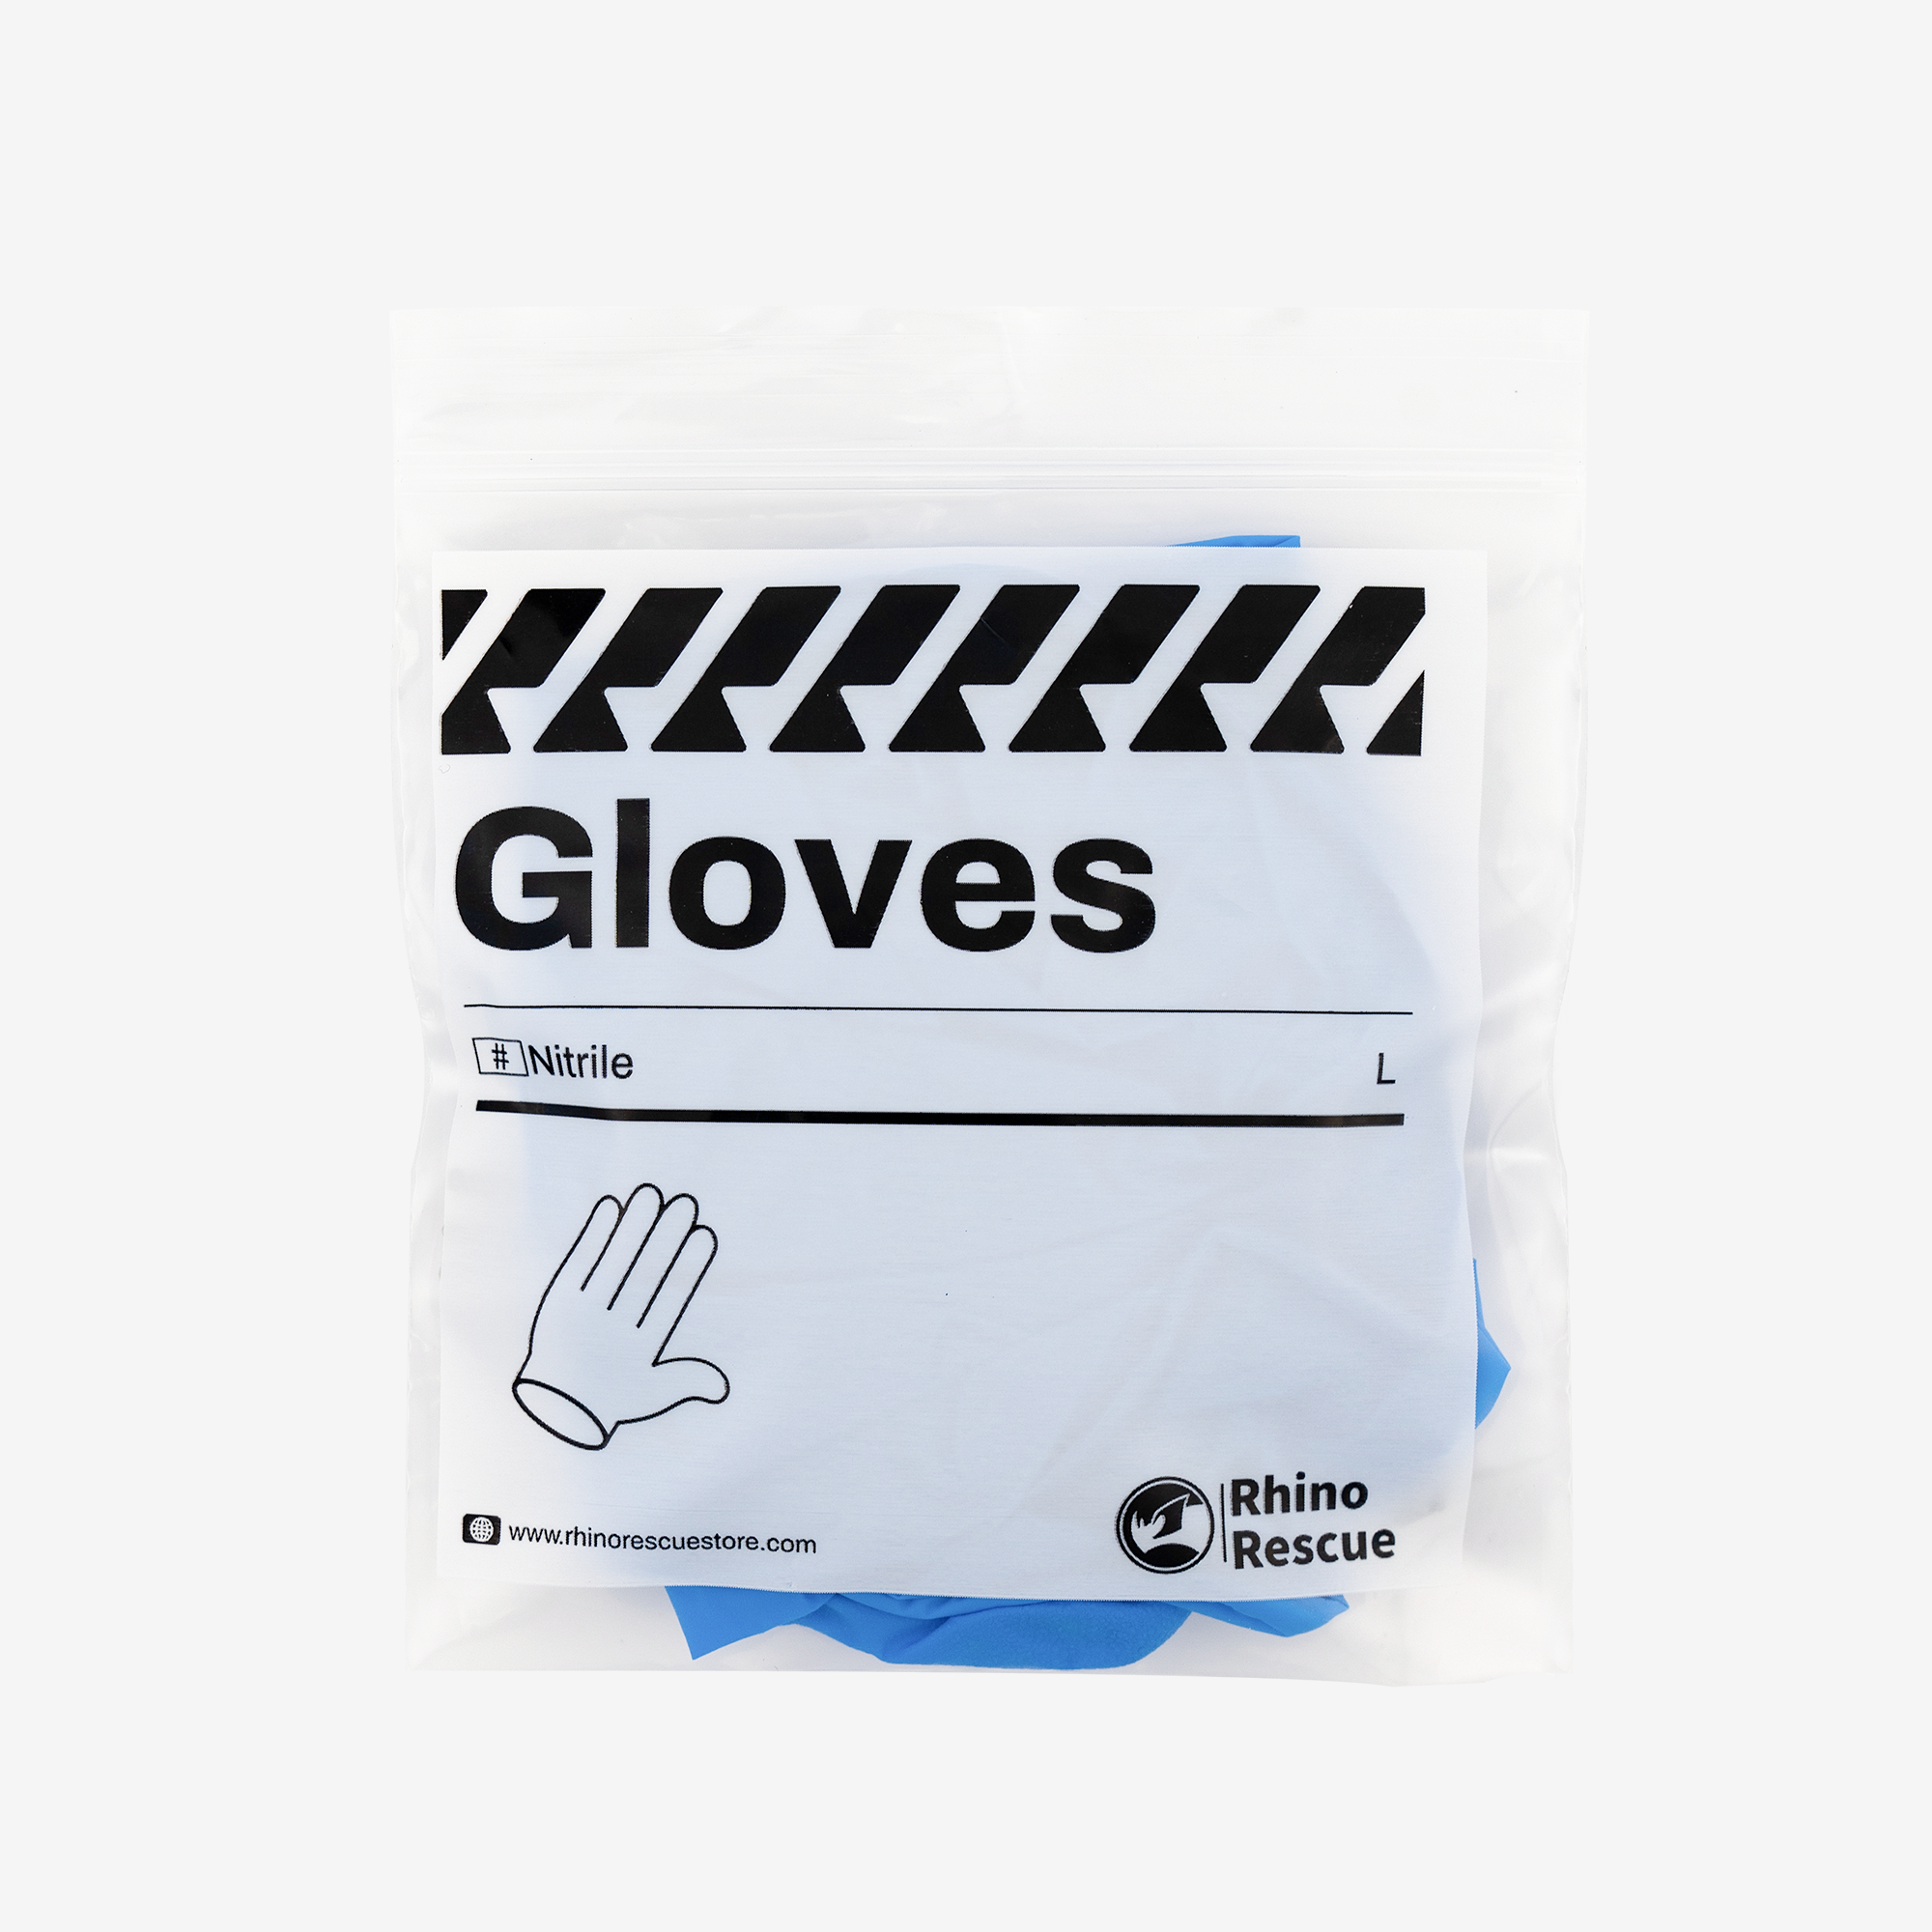
1. Personal Protective Equipment (PPE): At least, it is high-quality nitrile gloves. The first step that cannot be compromised is to protect yourself against bloodborne pathogens.
2. Hemostatic Gauze: It is the material of choice when packing a wound. The hemostatic gauze is soaked in an agent, e.g. kaolin or chitosan, which actively facilitates blood clotting. This greatly speeds up the coagulation cascade, and it is much more effective than ordinary gauze. Although plain sterile gauze may be utilized in case it is the only available one, hemostatic agents are the modern standard of care.
3. Pressure Dressing/Bandage: Once the wound has been packed, a pressure dressing is necessary to ensure that the packing material is firmly held in place and that the pressure is kept constant. A pressure bar bandage that is elasticized is best.
4. Trauma Shears: These are used to cut through clothing, belts, or other substances to reveal the wound in a fast and safe manner.
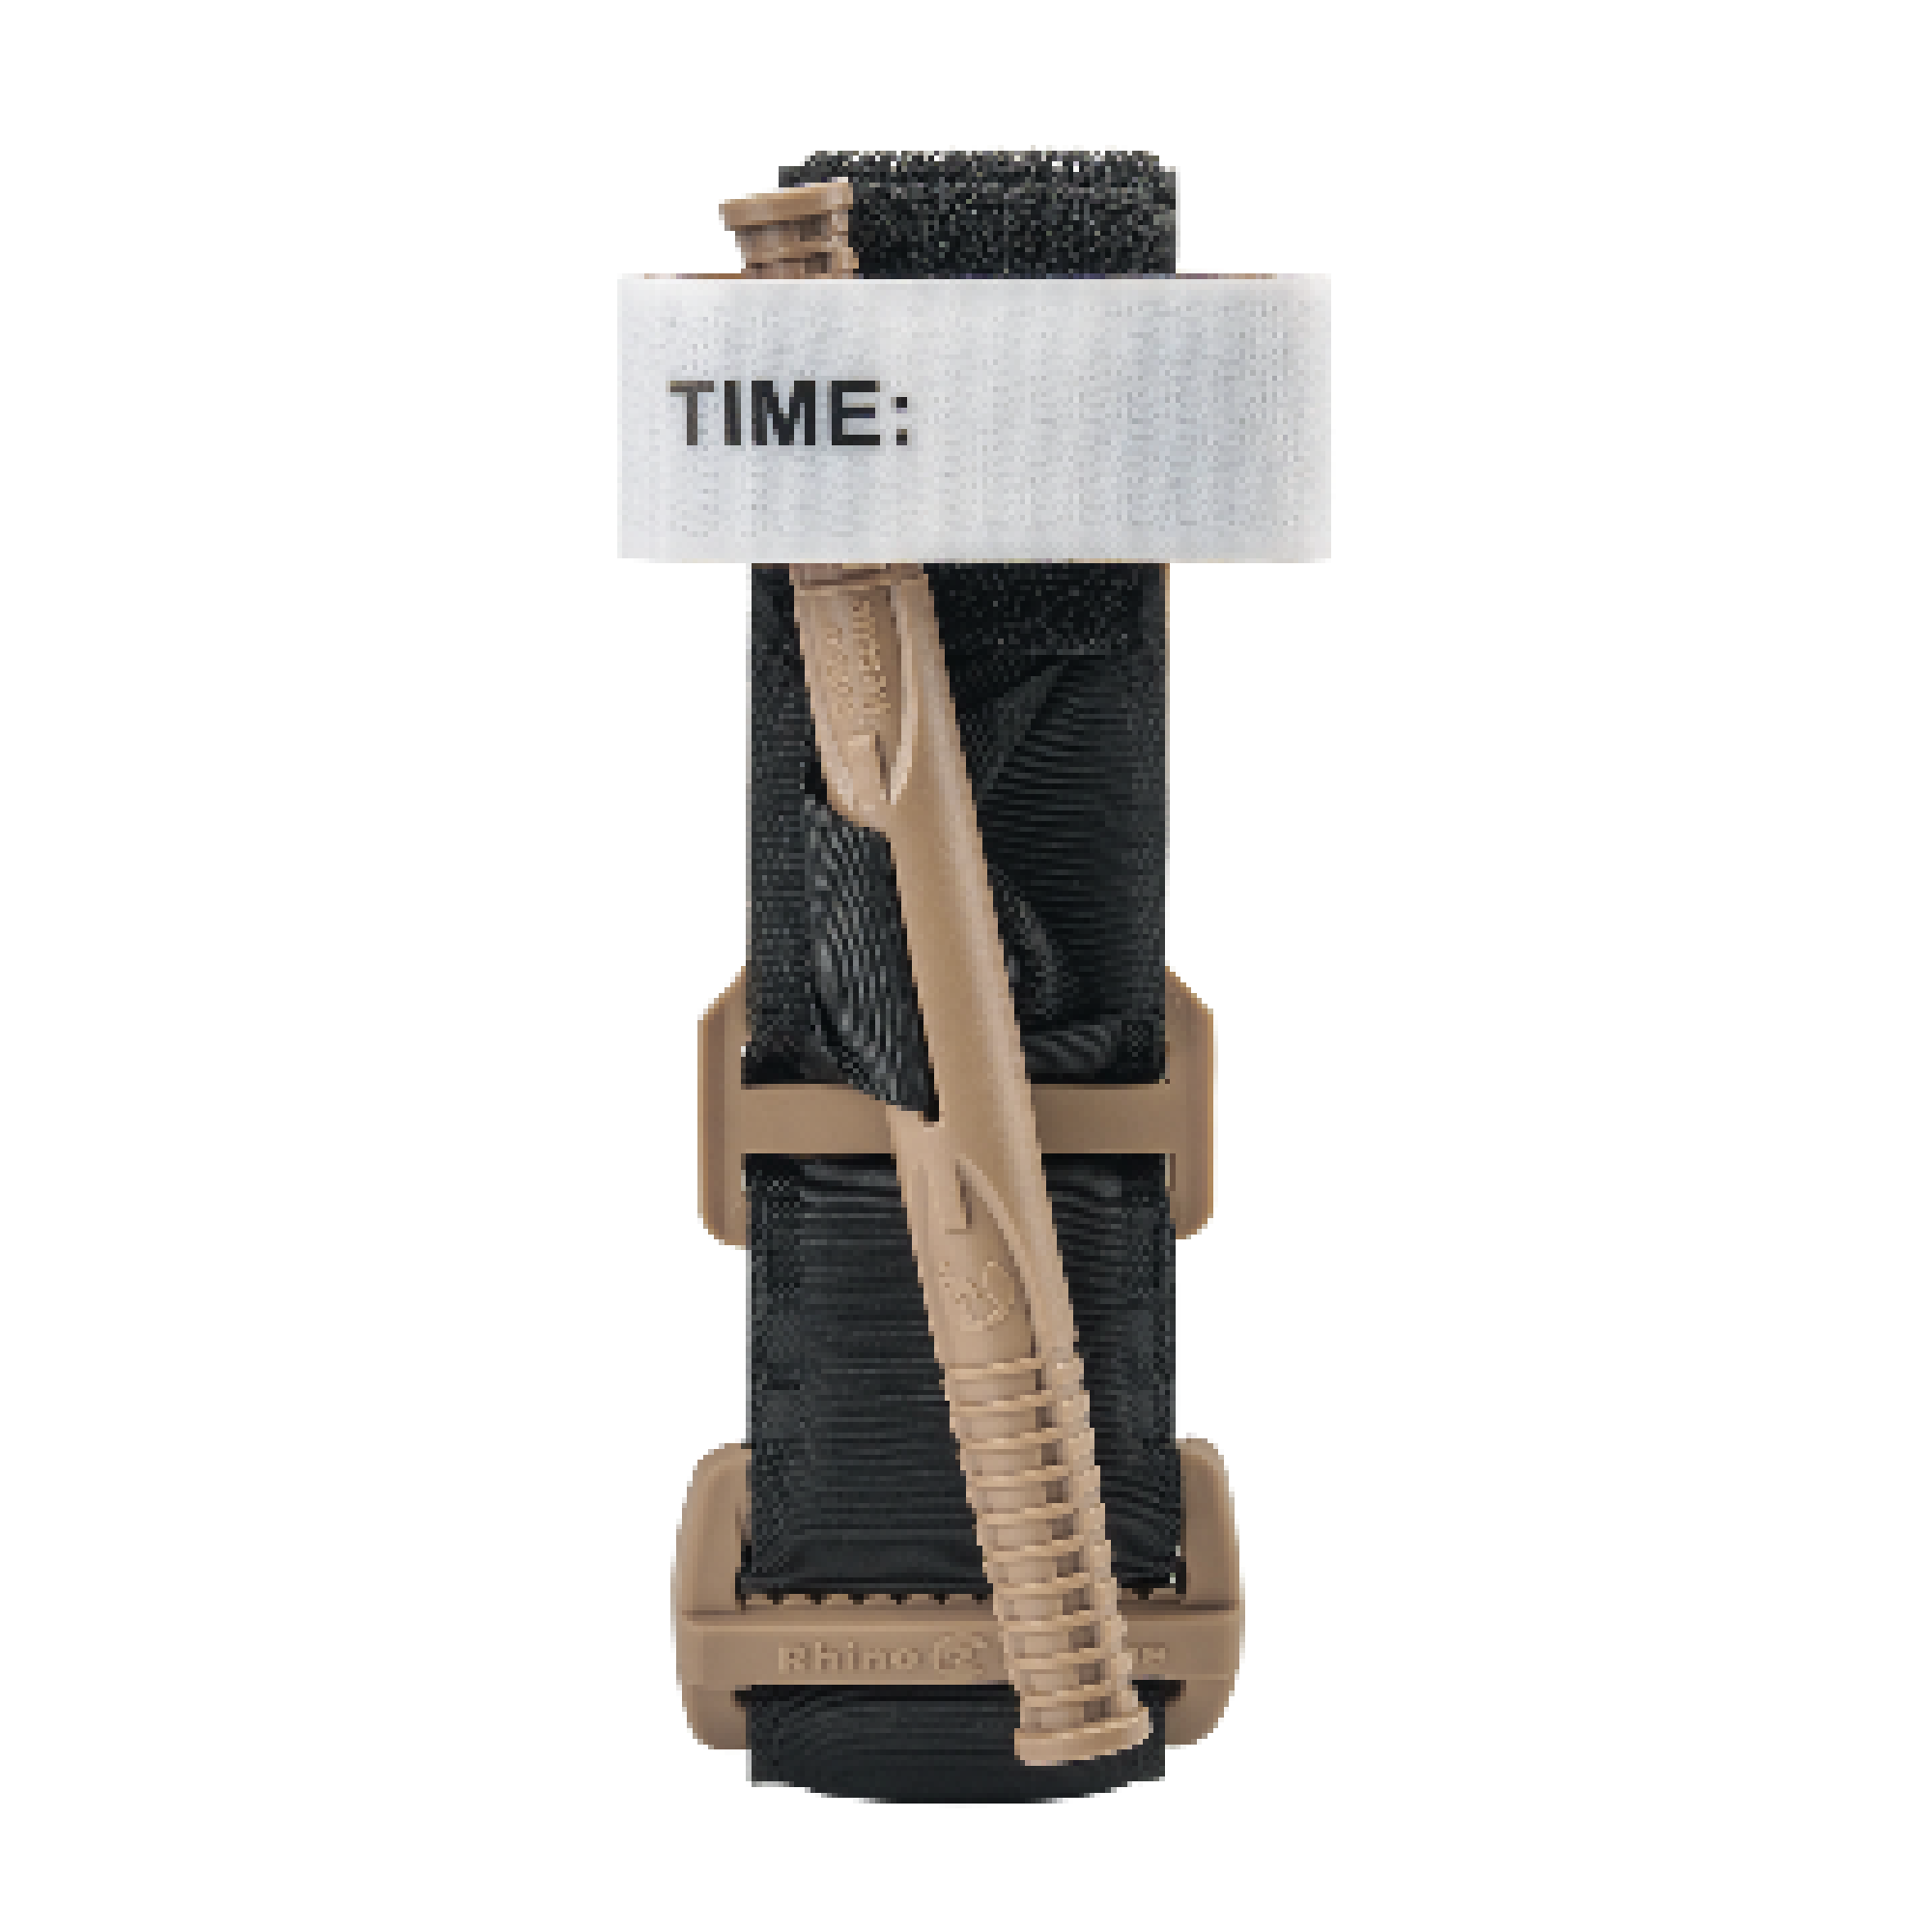
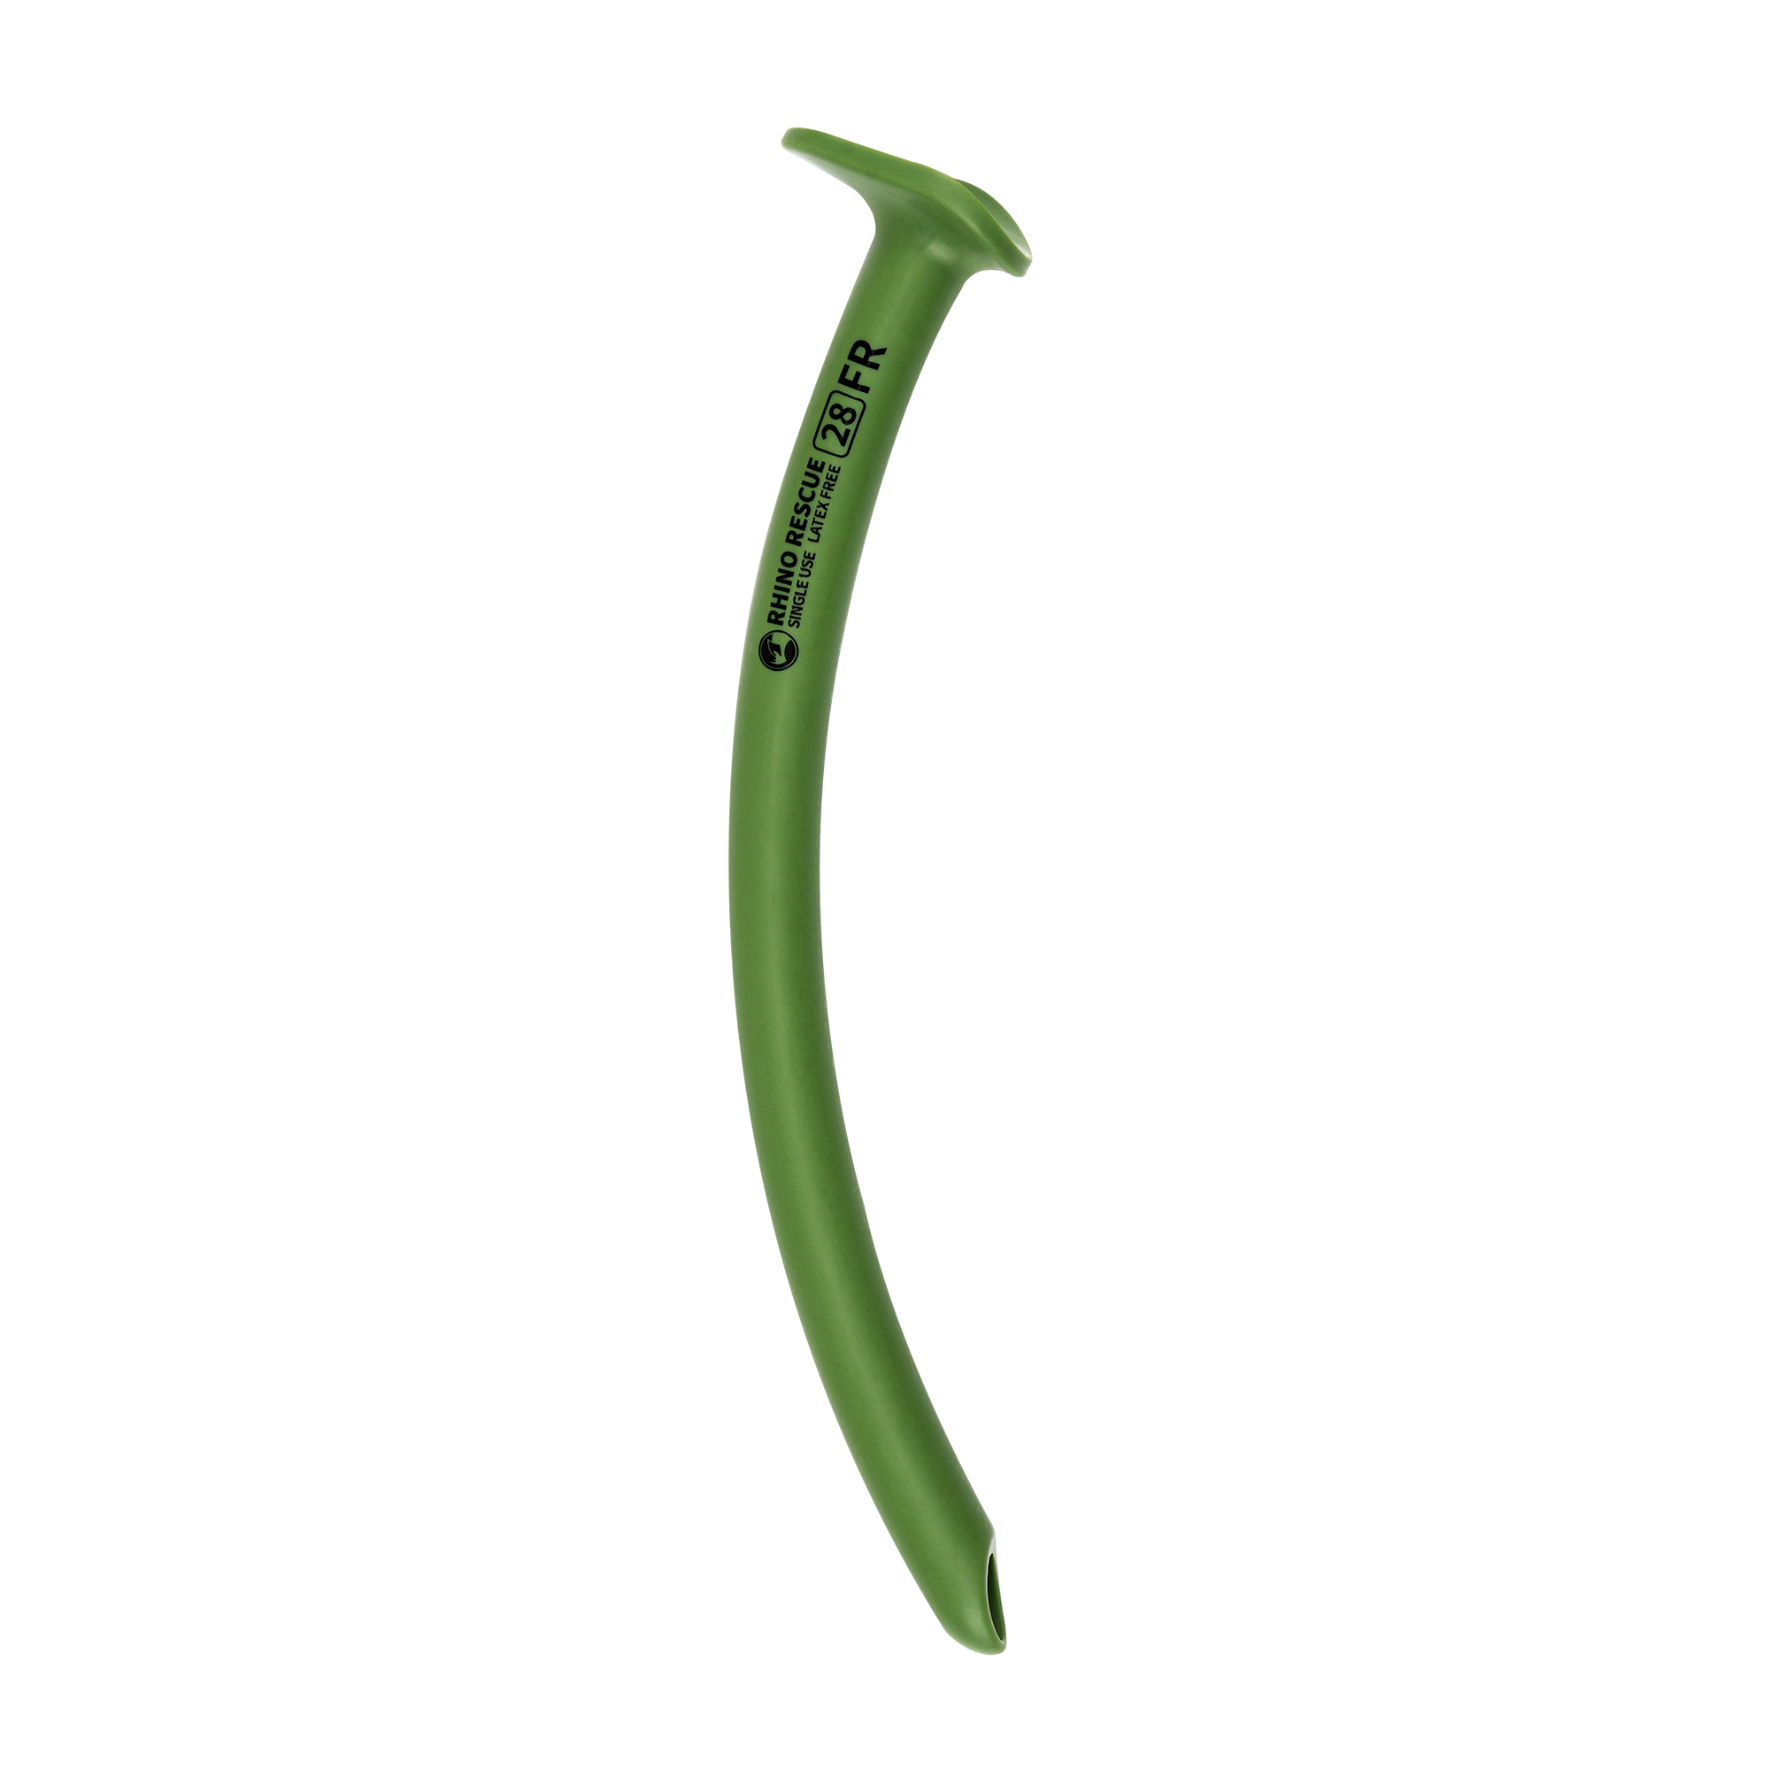
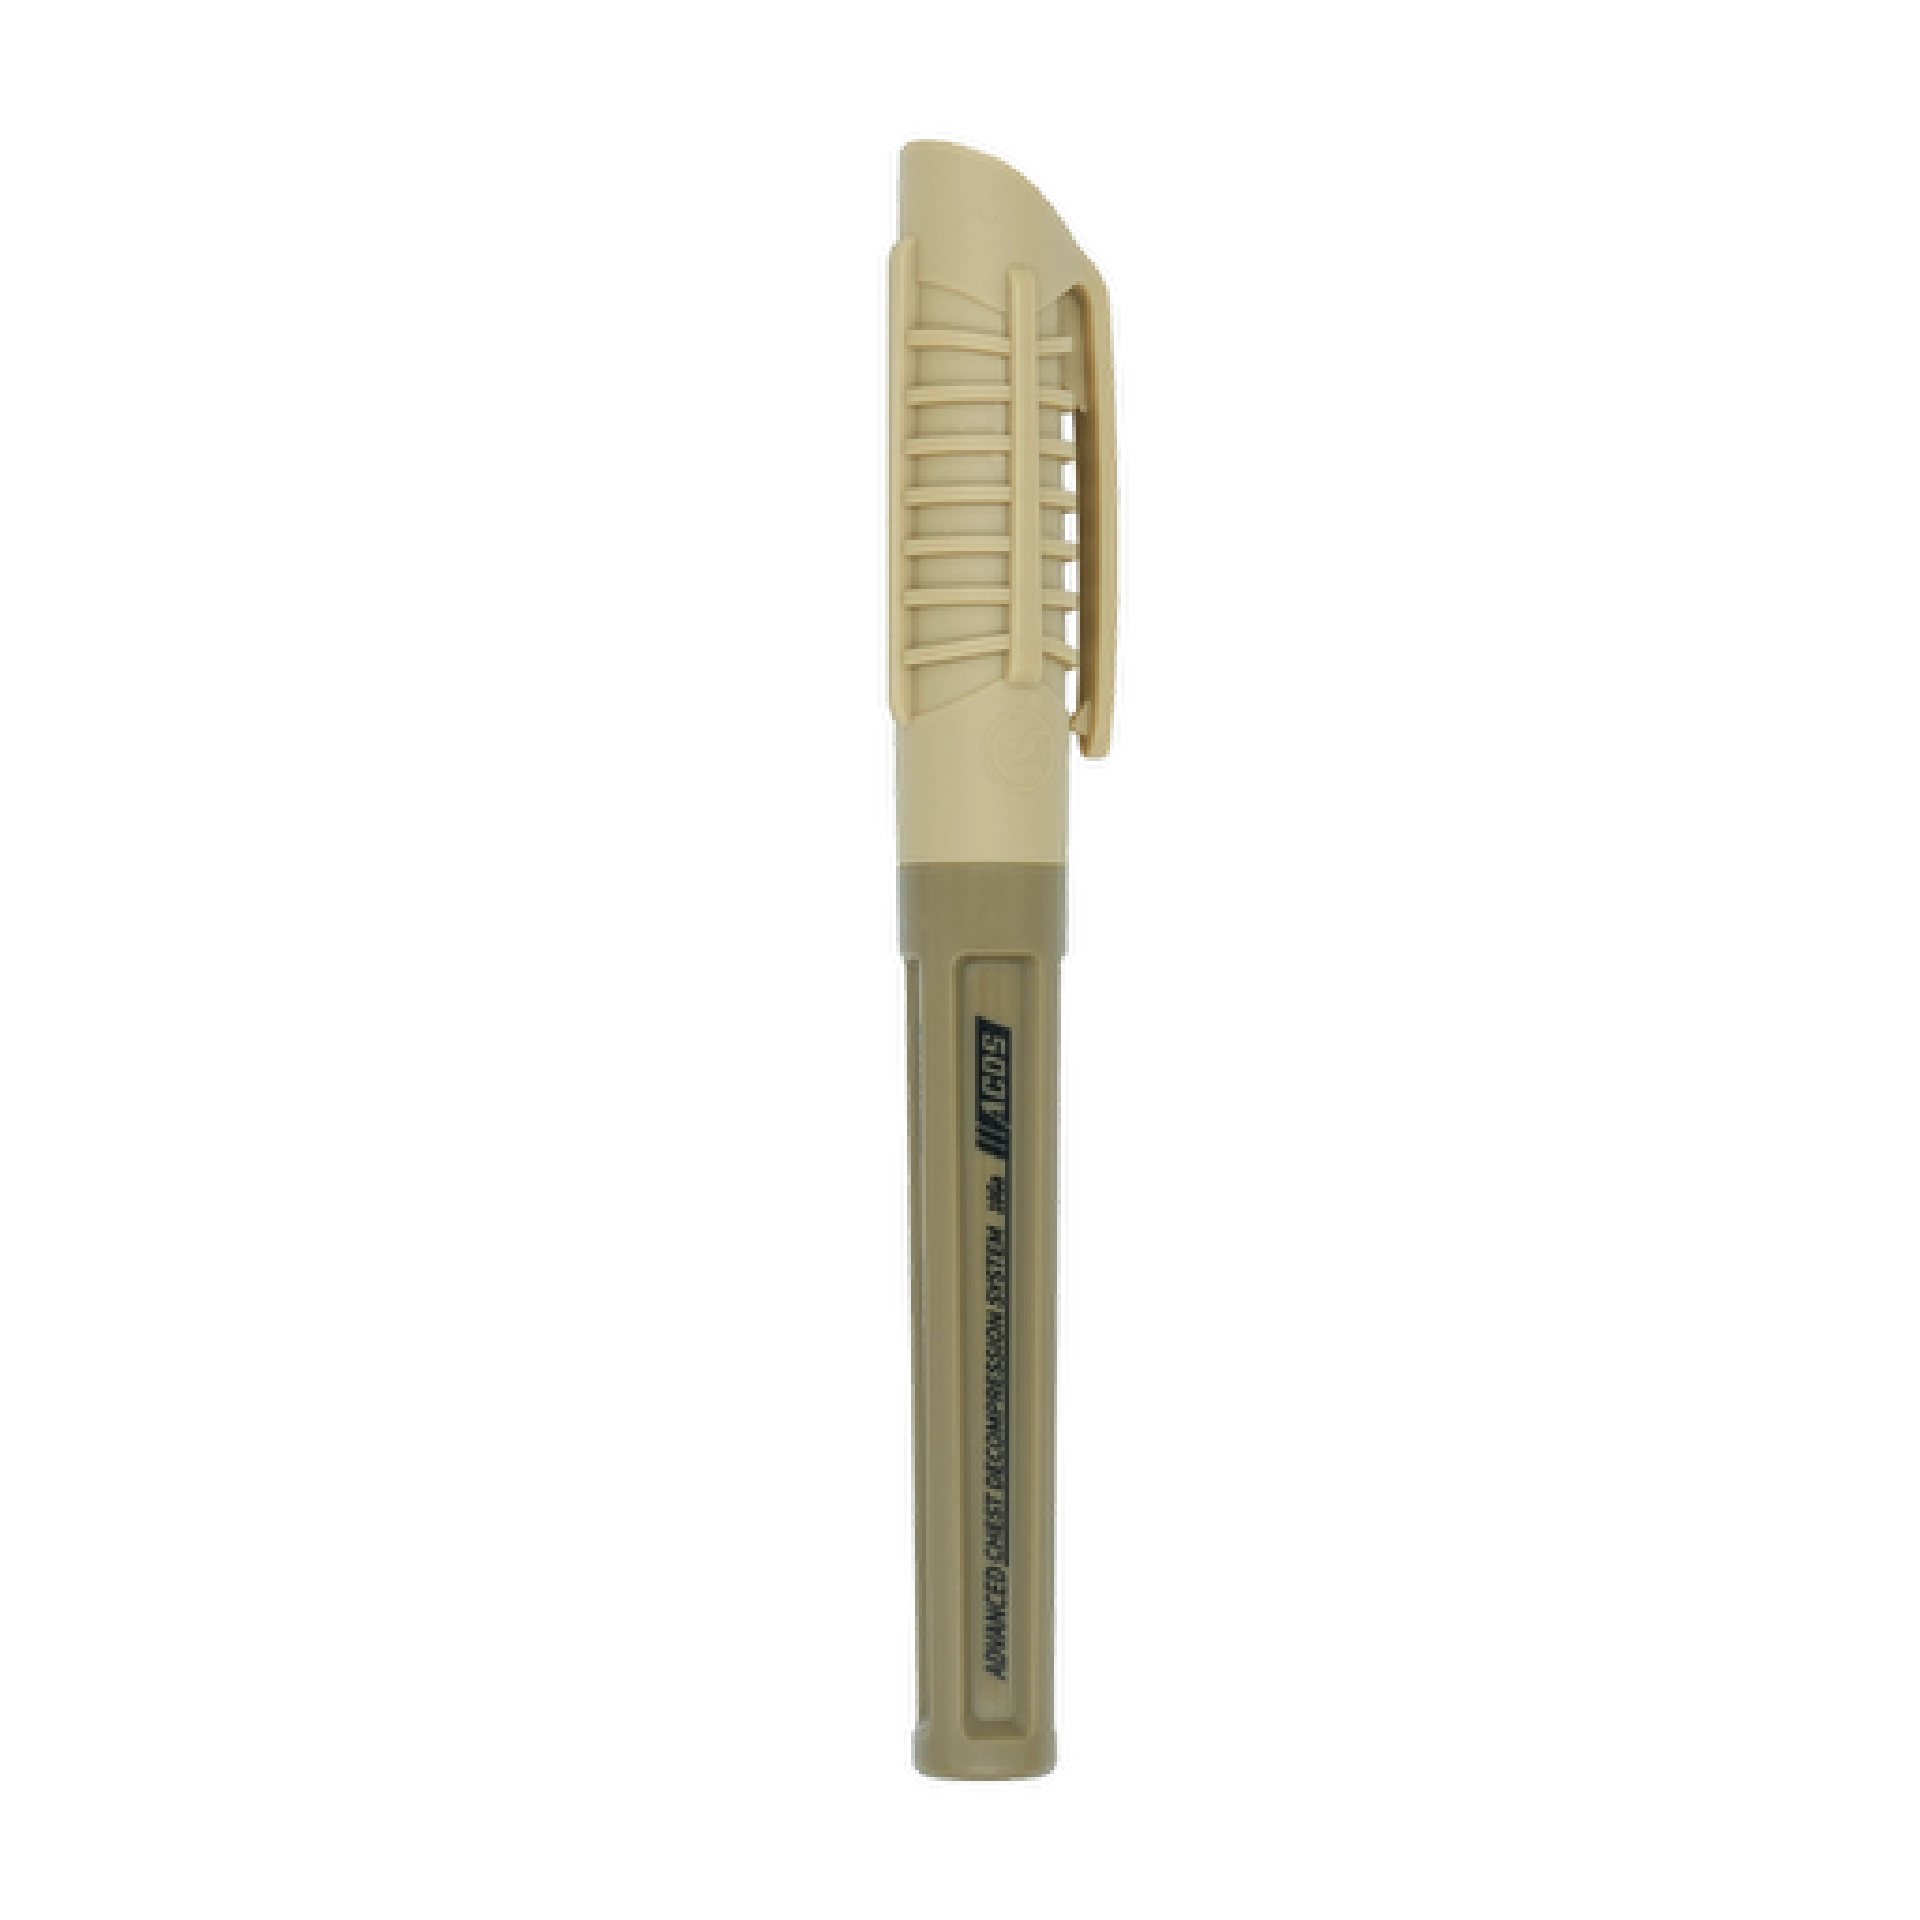
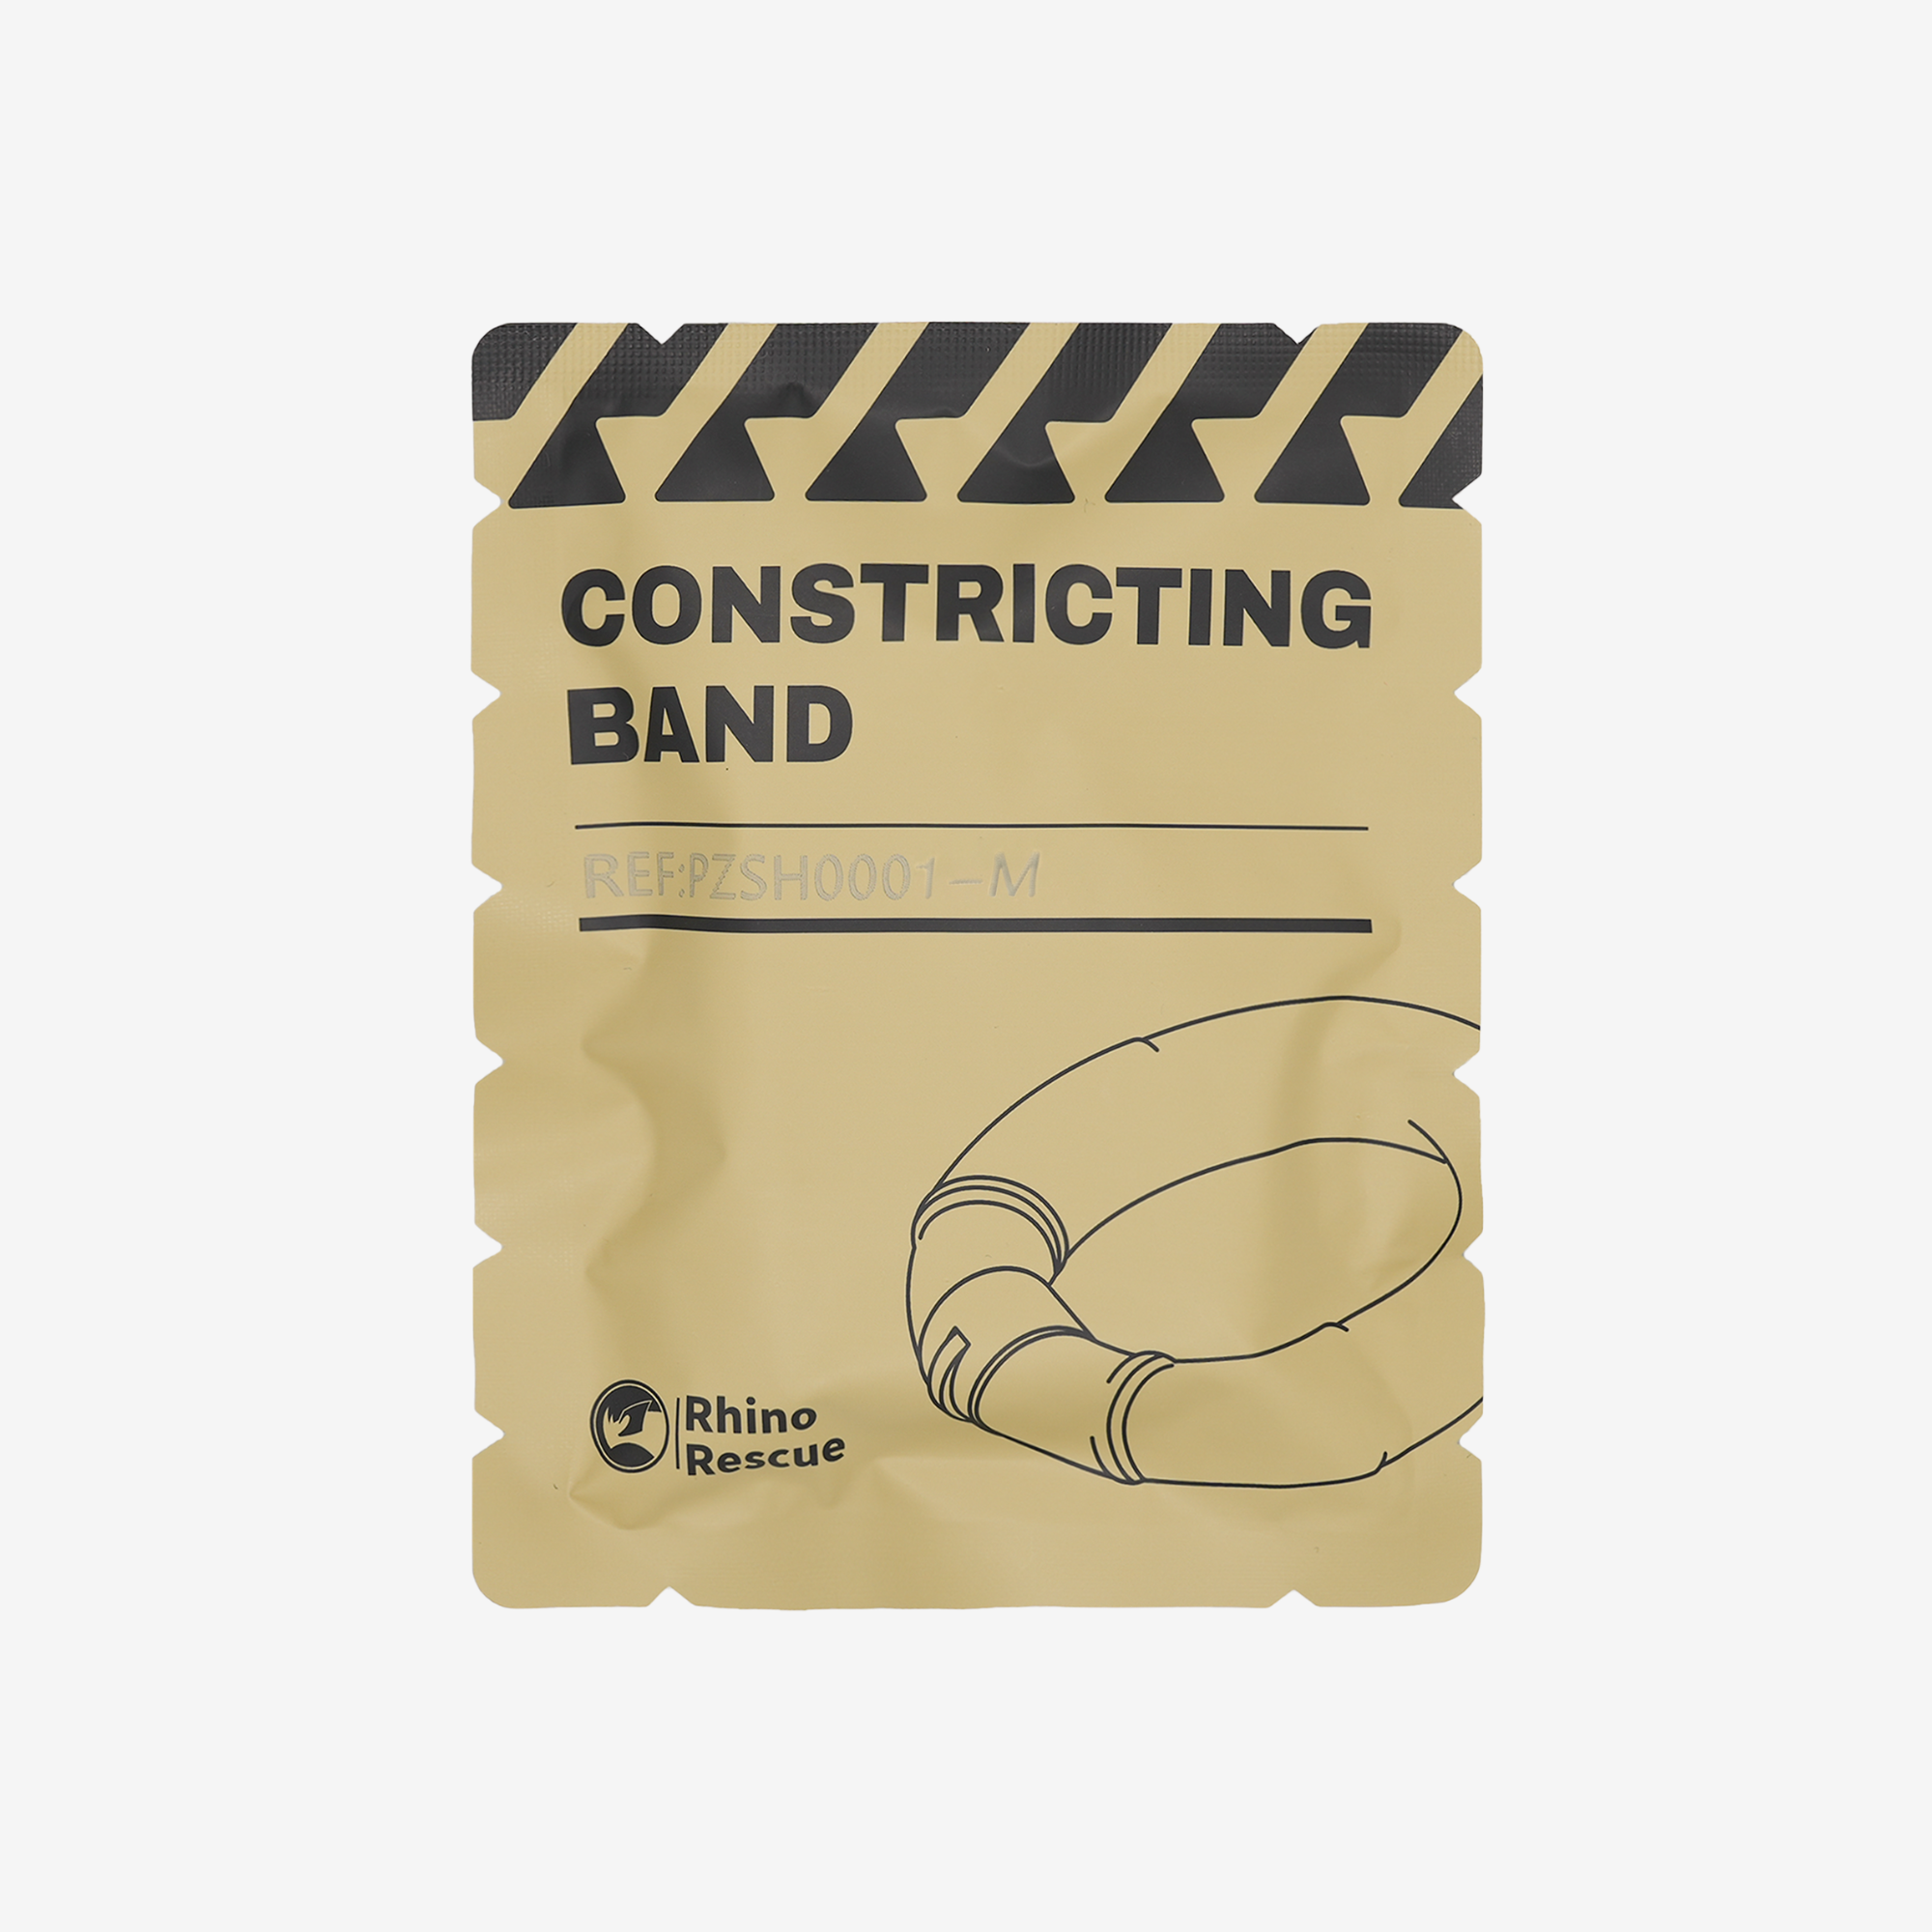
The presence of these items in a bag is a liability. Fine motor skills are impaired under severe stress. Searching for a roll of gauze or a pair of gloves is costly in terms of time. Here, the idea of a special purpose-built trauma kit turns out to be a necessity rather than a luxury.
The Rhino Advantage: Why a Mission-Ready Kit Matters
A trauma kit is not merely a set of supplies, but a system that is to be used in the worst possible conditions. Rhino Rescue is based on this philosophy. Speed, reliability, and completeness are functions of success in an emergency.
Speed & Efficiency: A disorderly scene is no time to read directions or to speculate on contents. Rhino Rescue IFAK (Individual First Aid Kit) and trauma kits are scenario-based in their logic. Our layouts are designed to be deployed quickly and correctly, through such features as color-coded pull tabs, and intuitive guides based on icons. During field tests, users are able to find and access the precise component required within less than a minute, even in multi-casualty situations. This is not only convenient, but a vital performance indicator that is directly translated into time and life-saving.
Reliability: You should be absolutely sure that a hemostatic dressing will work when you reach to it. Rhino Rescue develops that trust by adhering to quality control without compromise and international certification. Our products are CE, FDA, and ISO13485 certified, which can be proven as the evidence of the fact that they are the best in the world in terms of health and safety. An example of this is our patented compressed gauze, which is designed to expand quickly to form instant pressure, and our tourniquets and dressings have individual certification numbers that can be checked on our site. Our equipment is constructed using lightweight, waterproof and durable materials that are vacuum sealed to last 5 years on the shelf and tested to withstand extreme temperatures of -30 o C to 70 o C. This is the professional level of reliability required by military, law enforcement and first responders.
Completeness: The final thing you want is to notice that you have left out an important part in the middle of the procedure. Our one-pack solution is created to be a self-contained system. One Rhino Rescue IFAK Trauma Kit is all one needs to deal with a catastrophic bleed, including the trauma shears to expose the wound, the hemostatic gauze to pack the wound, and the pressure bandage to hold the wound in place. This combined strategy will help you get rid of the psychological burden of finding separate objects and concentrate on the casualty and the job at hand. When one buys a Rhino Rescue kit, he is not merely buying supplies, but investing in an efficient, proven, and comprehensive emergency response system.
The Step-by-Step Wound Packing Procedure
Follow these steps methodically. Do not rush, but work on purpose. Clarity of action is your greatest asset.
Step 1: Scene Safety and Exposure
Before you do anything else, ensure the scene is safe for you to operate. Your safety is paramount. Put on your gloves. Get direct access to the wound by cutting or tearing away any clothing. You must be able to see the full extent of the injury and the source of the bleeding.
Step 2: Identify the Source of Bleeding
Wipe away pooled blood from the wound area to visualize the inside of the wound cavity. You are looking for the specific point or point where the blood is flowing fastest. This is the damaged vessel. It is not enough to just push gauze into the hole; you must apply pressure directly to this source.
Step 3: Begin Packing the Wound
Take the end of your hemostatic gauze and, using your fingers, feed it directly into the deepest part of the wound, pressing it firmly against the bleeding source you identified. Use the fingertips of your other hand to hold the first part of the gauze in place.
Step 4: Systematically Fill the Cavity
Continue to feed the gauze into the wound, packing it tightly from side to side. The goal is to fill the entire wound cavity as tightly as possible. You are not simply "stuffing" it in; you are methodically building a base of pressure directly on top of the bleeding vessel, ensuring even the smaller areas of the wound are filled. This damp packing material should be snug. Use all of the gauze if necessary. The wound should be packed so firmly that the material protrudes slightly above the skin level.
Step 5: Apply Firm, Uninterrupted Pressure
Once the wound is fully packed, place the heel of your hand directly over the packed wound and apply immediate, firm, and continuous downward pressure. Use your body weight to assist you. Do not release this pressure. Do not peek to see if the bleeding has stopped.
Step 6: Maintain Pressure
Maintain direct pressure for a minimum of 3-5 minutes for hemostatic gauze or 10 minutes for plain gauze. This time is critical to allow the clotting agents to work and for a stable clot to form.
Common (and Dangerous) Wound Packing Mistakes
Proper procedure knowledge should be accompanied by familiarity with the areas of frequent failure. As much as it is important to take the steps correctly, it is equally important to avoid these mistakes.
-
Lack of Pressure: This is the most widespread error. Lightly packing a wound or not pressing it firmly and directly afterwards will make the whole exercise pointless. The pressure should be high enough to force the pressure inside the ruptured blood vessel mechanically.
-
"Stuffing" Not Packing: It is not wound packing to randomly stuff gauze into a wound. This does not aim to address the cause of the bleeding at the bottom of the wound cavity and forms an unstructured mass that is unable to exert effective and focused pressure.
-
Giving Up Too Soon: This is the release of pressure before it is fully formed to loosen any loose clot that may have started to form, which will restart the clock on the control of hemorrhage. Stick to the entire pressure application time.
-
Packing the Wrong Wound: As explained, there is no need to pack a superficial wound and it is highly unsafe to pack an abdominal or chest wound. Follow the indications strictly.
-
Hesitation: Fear and hesitation are natural in the actual situation. Nonetheless, each second of uncontrolled hemorrhage decreases the probability of survival. The trust is based on the knowledge of the principles and the faith in the process.
What to Do Immediately After Packing the Wound
Successfully packing the wound is a critical victory, but it is not the end of the intervention. The moments that follow are vital for stabilizing the casualty until they can be transferred to definitive care.
-
Secure with a Pressure Dressing: While maintaining pressure with one hand, use your other hand to apply a pressure bandage. This will serve as the outer dressing. Wrap the elastic bandage tightly over the packed wound, ensuring the entire area is covered. If the bandage has a pressure bar, place it directly over the wound to concentrate the force. The goal is to create a complete wound dressing that holds the packing material in place with the same or greater pressure you were applying manually.
-
Monitor the Casualty: Check the dressing for any signs of blood soaking through. If it becomes saturated, the packing may not have been effective. Do not remove the original packing and dressing. Apply a second dressing on top of the first and apply more manual pressure.
-
Treat for Shock: Massive blood loss inevitably leads to shock. Keep the casualty warm. Use an emergency blanket, jackets, or anything available to prevent heat loss. If their injuries allow, lay them flat on their back and elevate their legs slightly. Reassure them and keep them calm.
-
Prepare for Handoff: When professional responders arrive, give them a clear, concise report. State the time of injury (if known), where the wound is, that you have packed it with hemostatic gauze, the casualty's current mental state, and if possible, a list of the medicines they take. This handoff is a key part of your treatment transition, ensuring the person receives immediate medical care without delay. The professionals will handle the subsequent dressing change.
Why Reading Isn't Enough: Get Hands-On Training
This guide contains the essential information that is necessary to know and do wound packing. You have the why, the when, and the how. But one thing is reading about a physical skills and performing them in the face of extreme stress. Professional, practical training cannot be replaced.
Such courses as the national "Stop the Bleed" program and other tactical first aid certifications are priceless. During these courses, you will work with training manikins to train on packing wounds, applying pressure, and using various kinds of equipment. It is this muscle memory that is developed in a controlled setting that you will depend on when confronted with an emergency in the real world. It develops the courage to be decisive and effective.
We are not just another equipment supplier at Rhino Rescue. We are out to provide people with the means and the courage to save lives. This is why most of our kits come with QR codes that direct to free and in-depth training videos. We trust in a three-part solution: the correct attitude, the correct ability, and the correct equipment. We encourage you to fill this circle. Read this guide, buy a good quality trauma kit and take a practical training course. The difference between life and death of someone tomorrow might be your preparation today.


